Mold remediation projects / Bathroom remediation 3
PROJECT PHOTOGRAPHS
Bathroom remediation 3.
Follow a bathroom project through vanity and wall access, containment, material removal and sampling documentation.
← All mold remediation projectsINSIDE THE PROJECT
Accessing damage around the vanity.
The photographs follow affected surfaces at the wall and cabinet base, followed by access beneath the sink and removal of materials to expose the lower wall.
Containment and work-area protection
Doorway barriers and floor protection define the access route. Later views show opened framing, plumbing and equipment in the work area.
Sampling documentation
The final photographs show air-sampling supplies and a cassette. Laboratory findings are not included in this gallery.
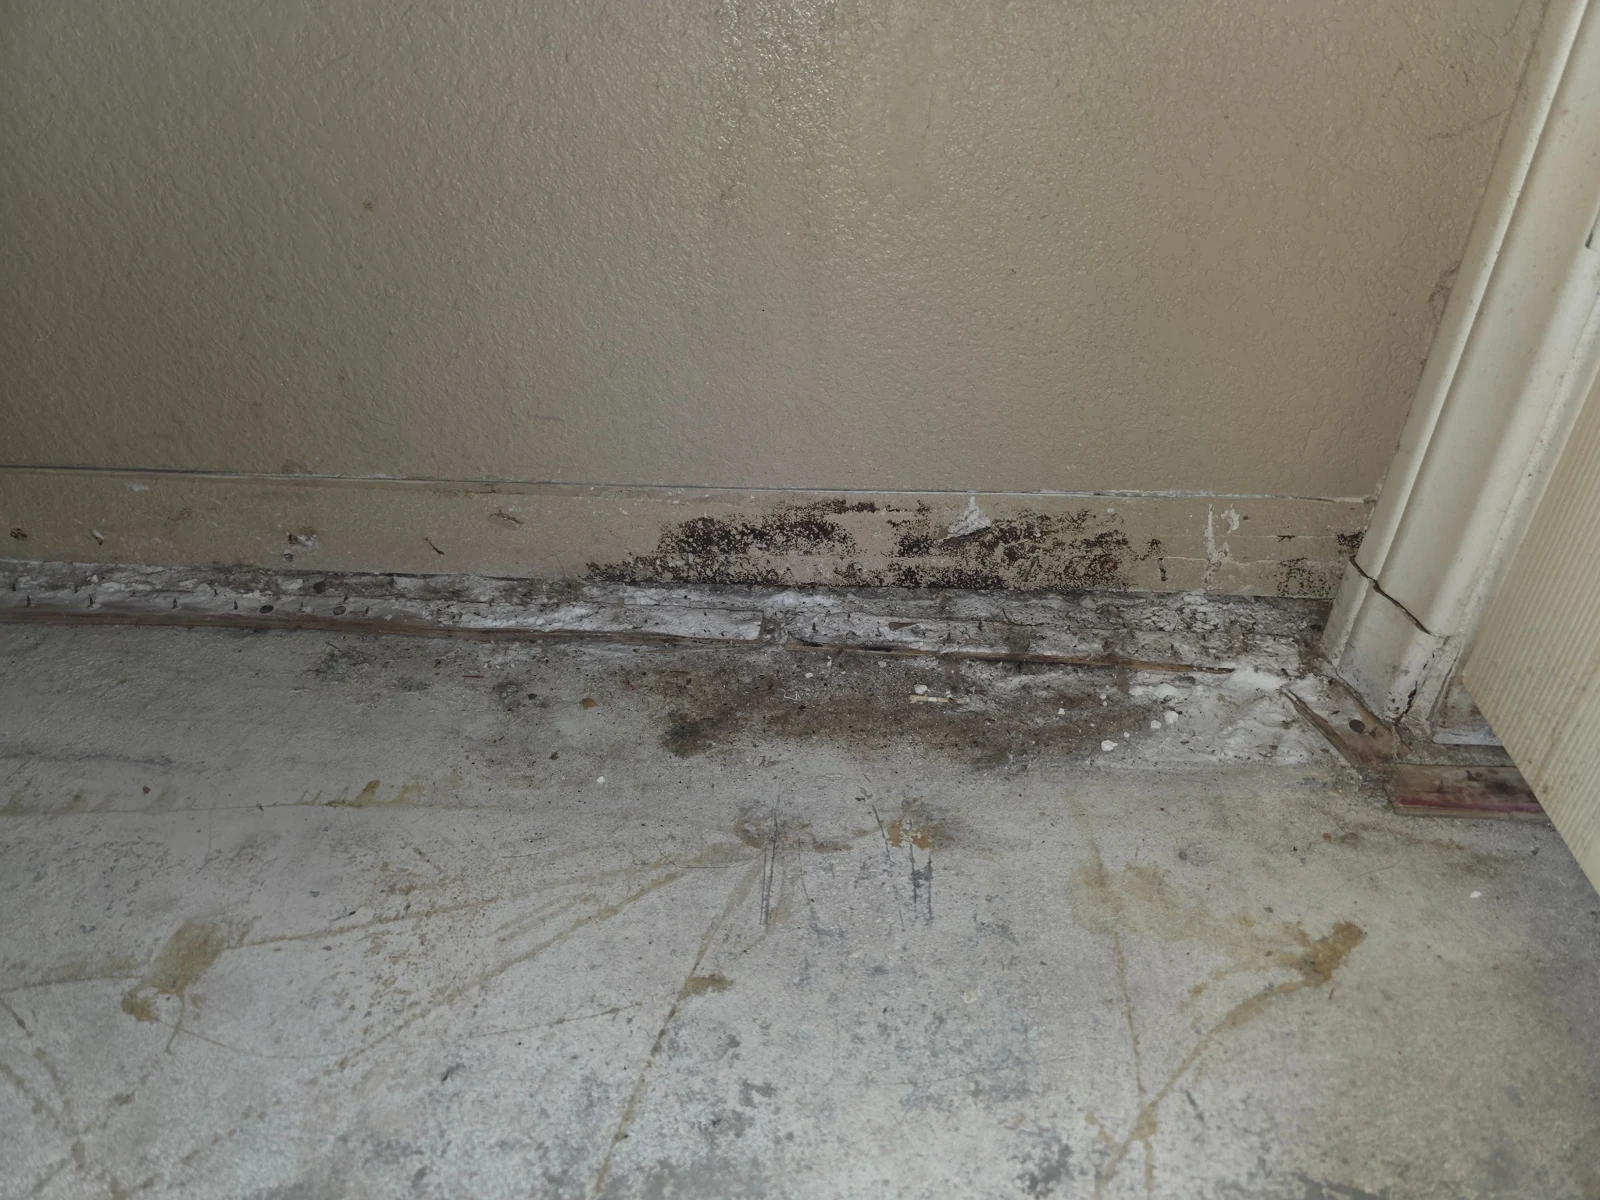
01 · Lower wall condition
Dark discoloration along the wall base and adjacent floor.
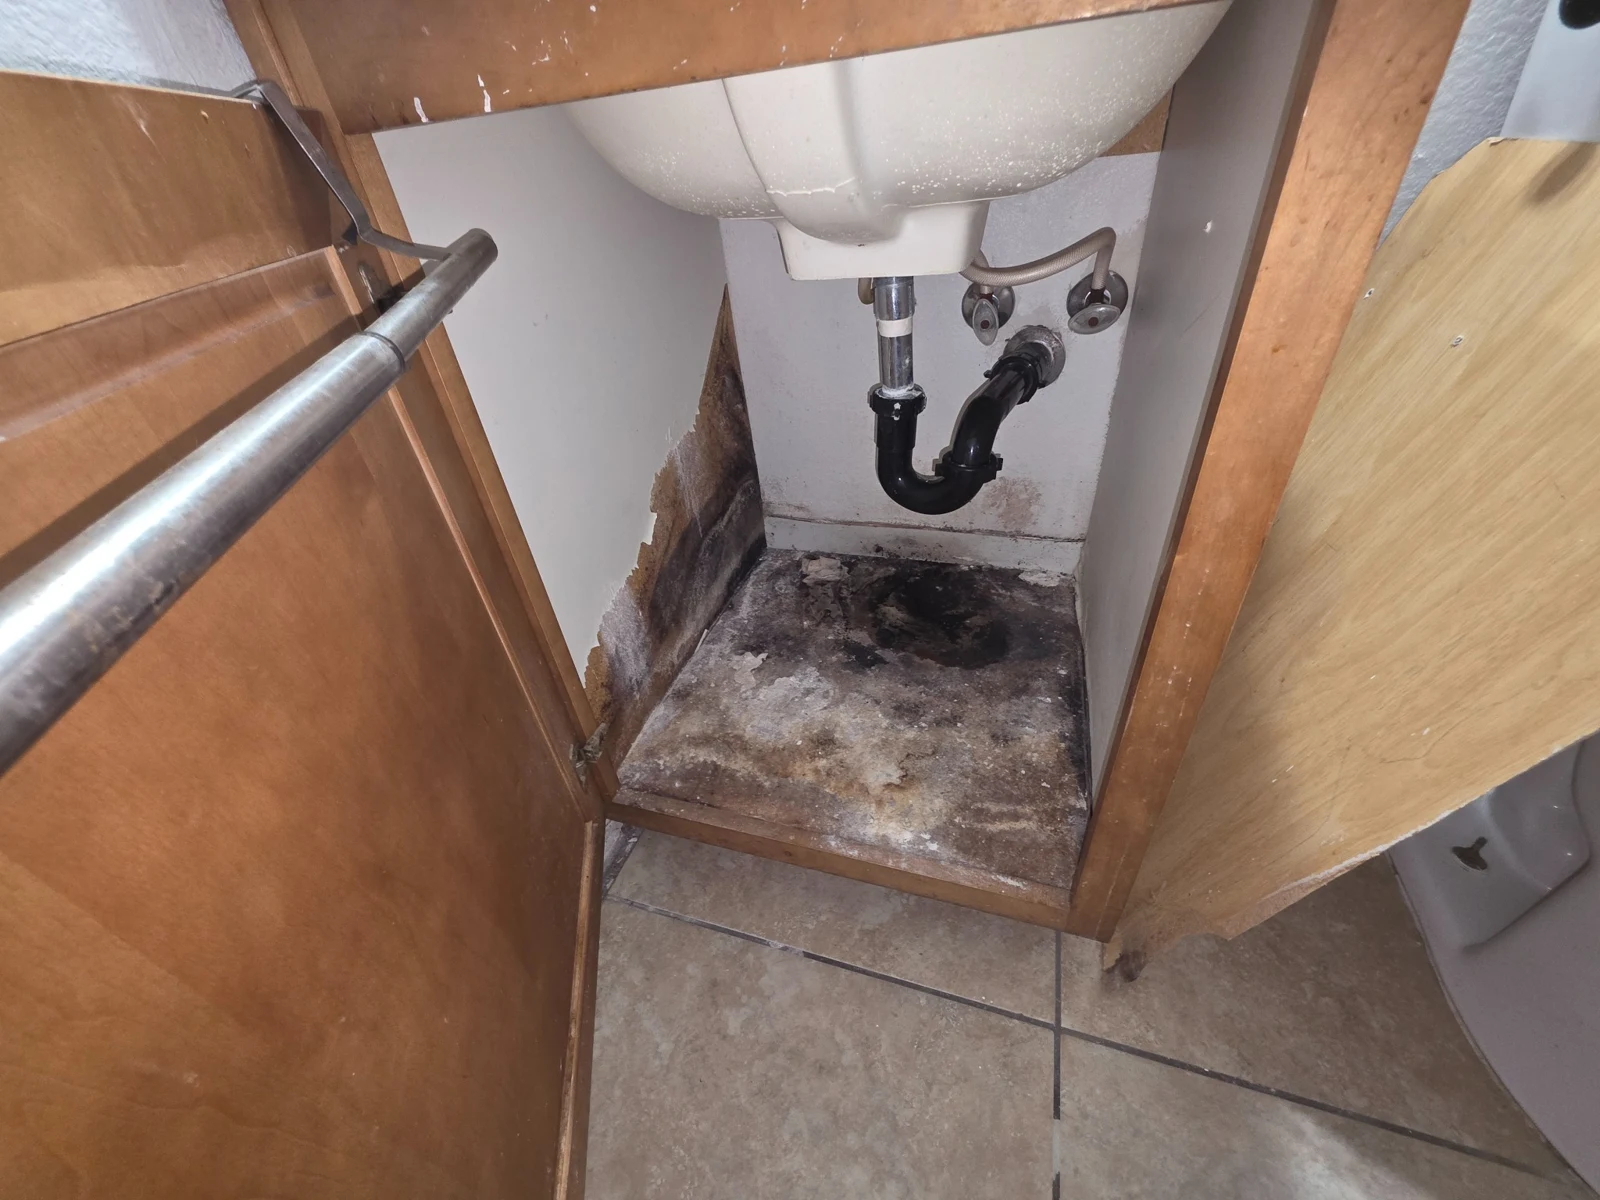
02 · Inside the vanity
The vanity interior shows affected materials beneath the sink.
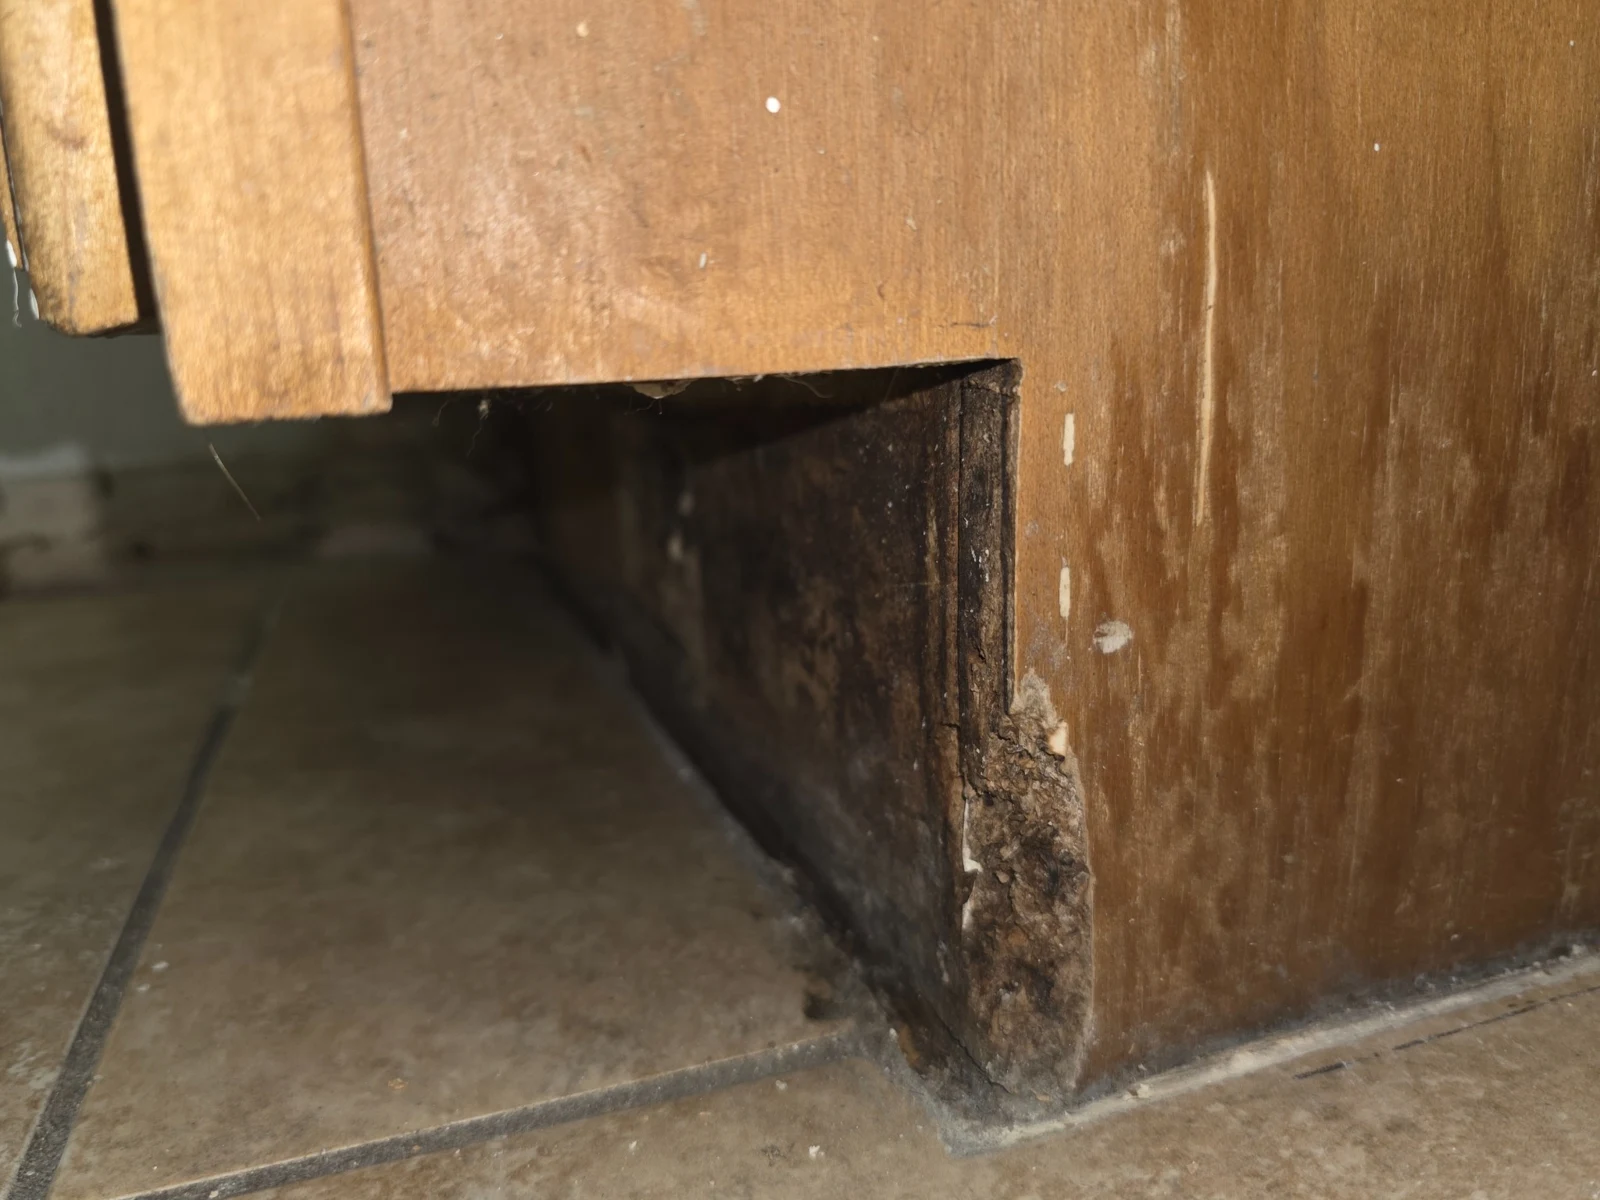
03 · Cabinet-base detail
A close view of discoloration and deterioration at the cabinet base.
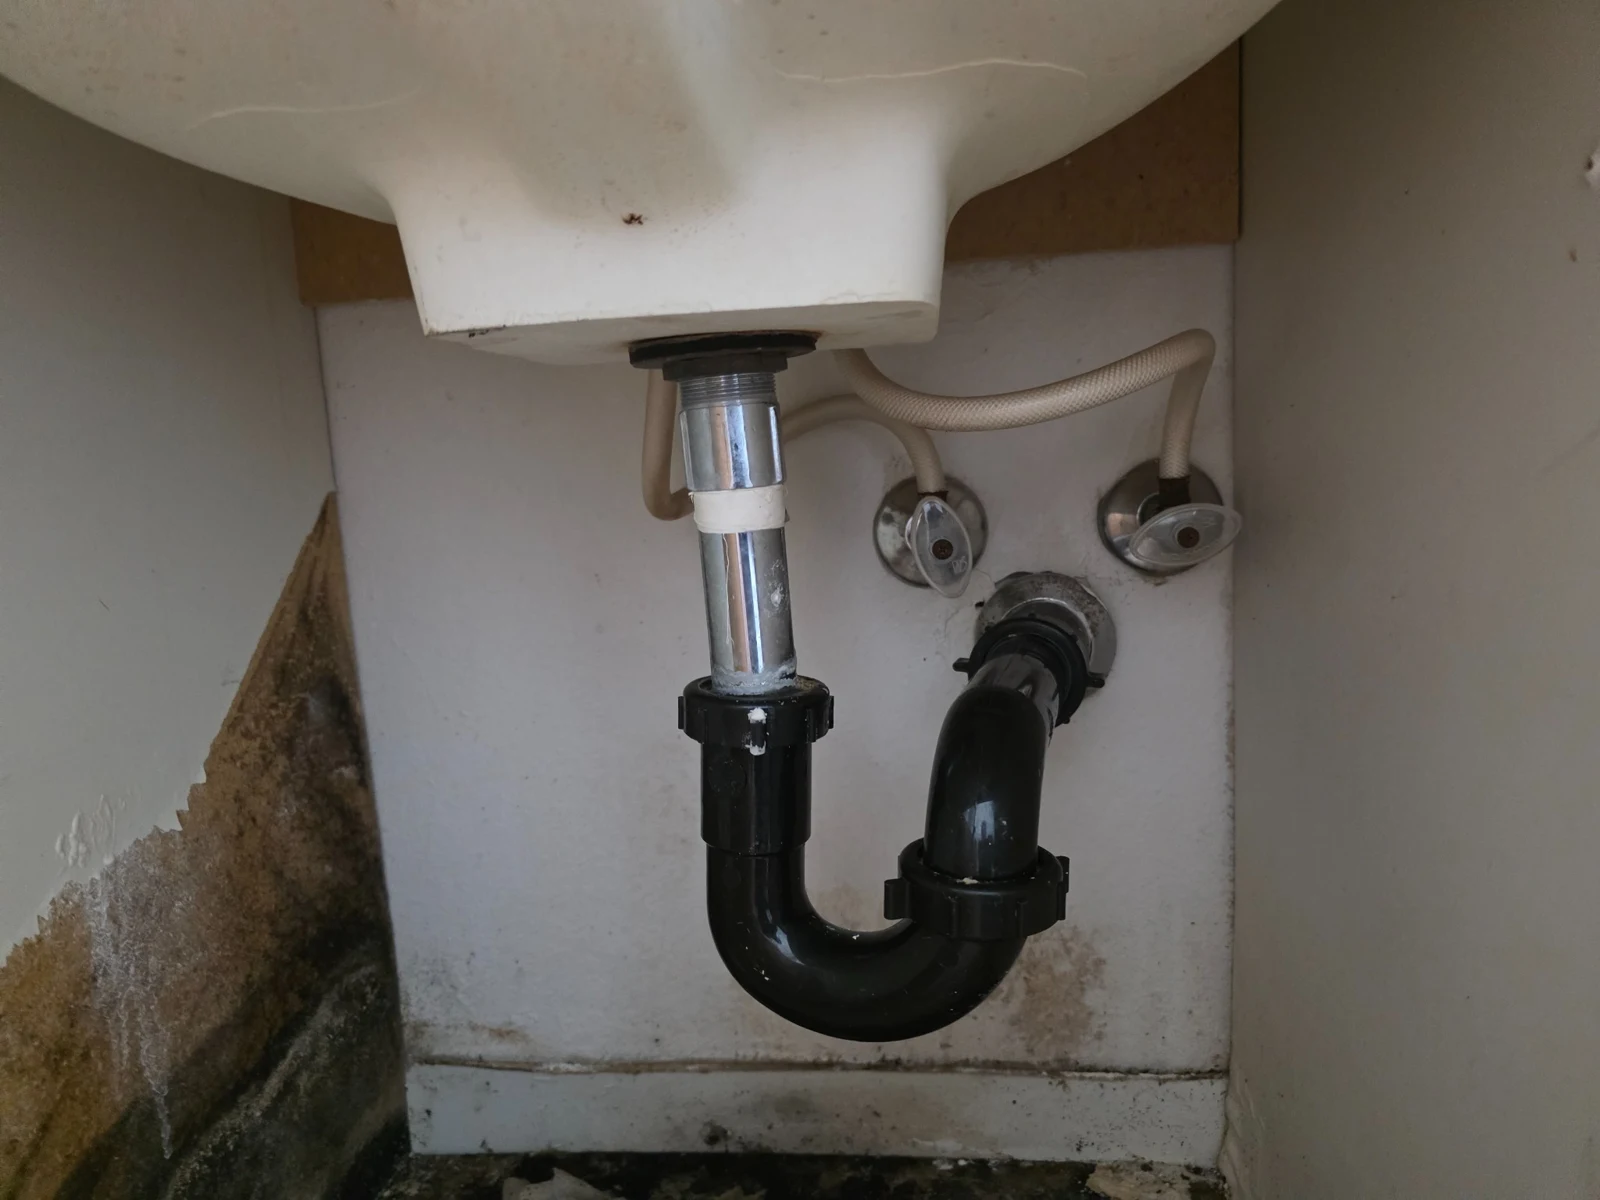
04 · Sink-area access
The sink and plumbing area after further access.
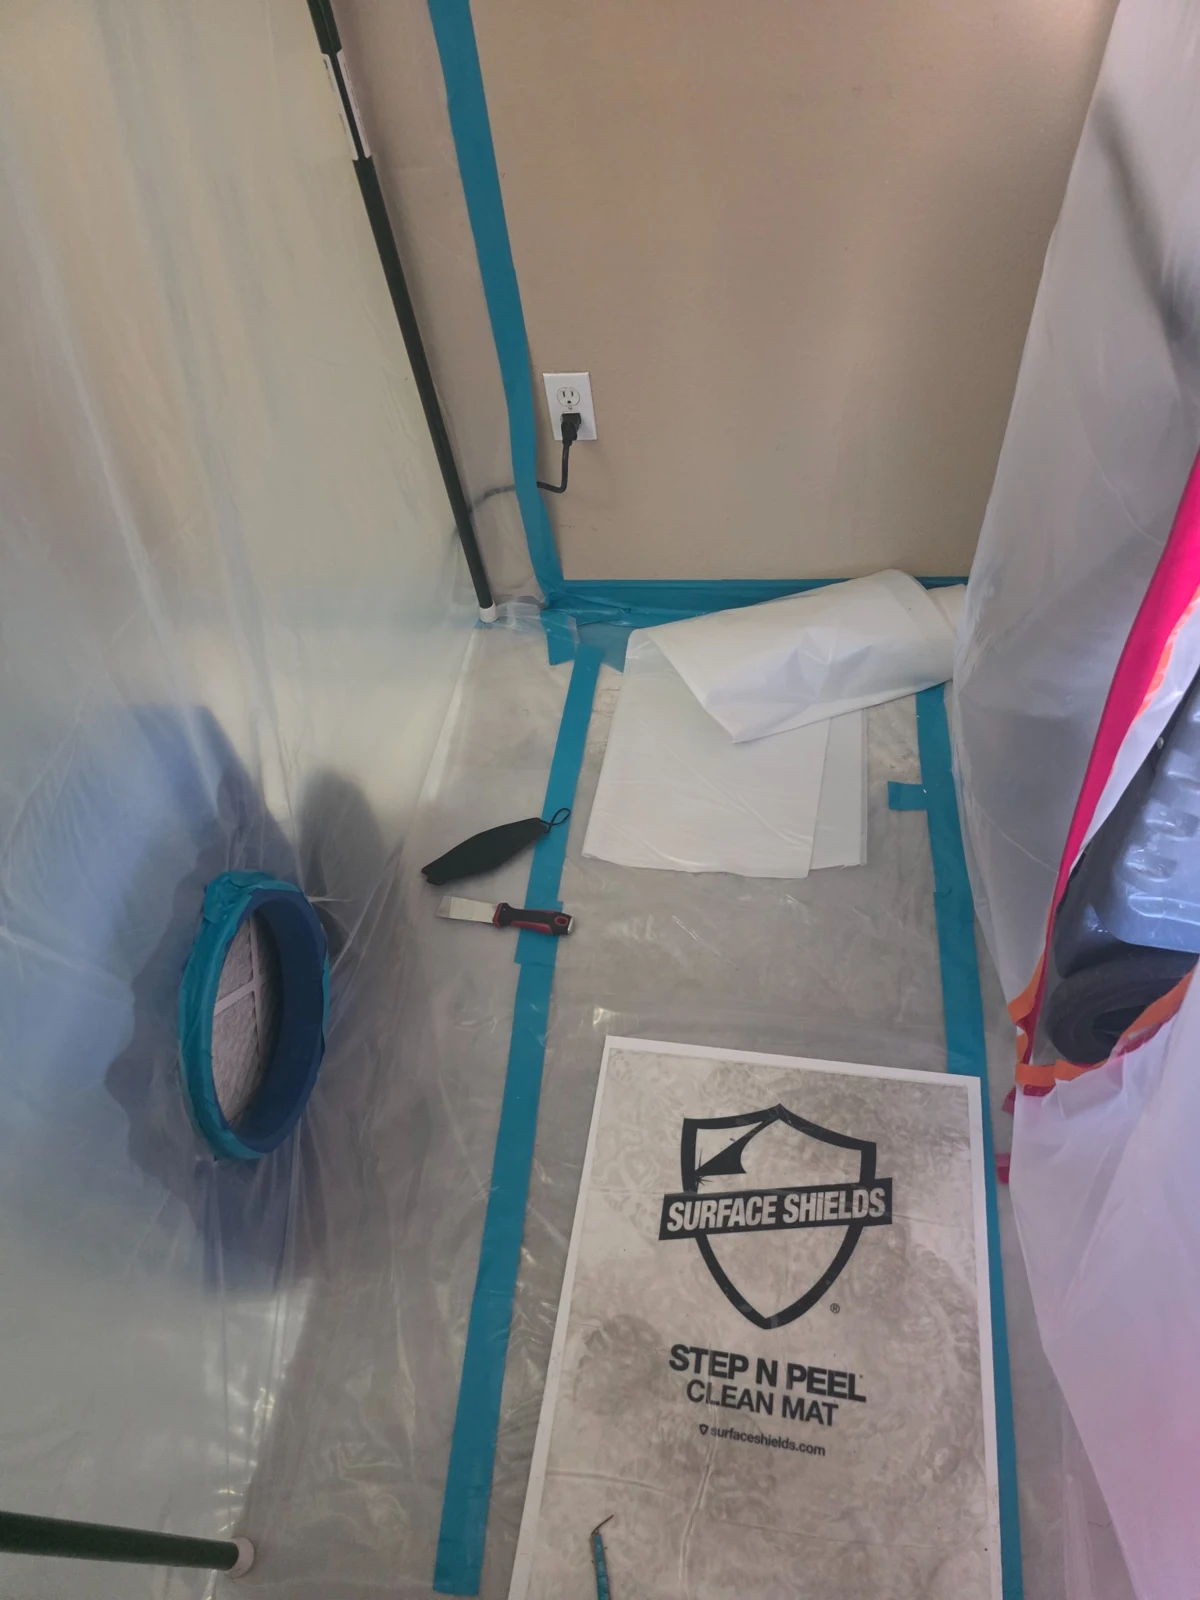
05 · Protected access route
Plastic sheeting, taped protection and a clean mat along the access route.
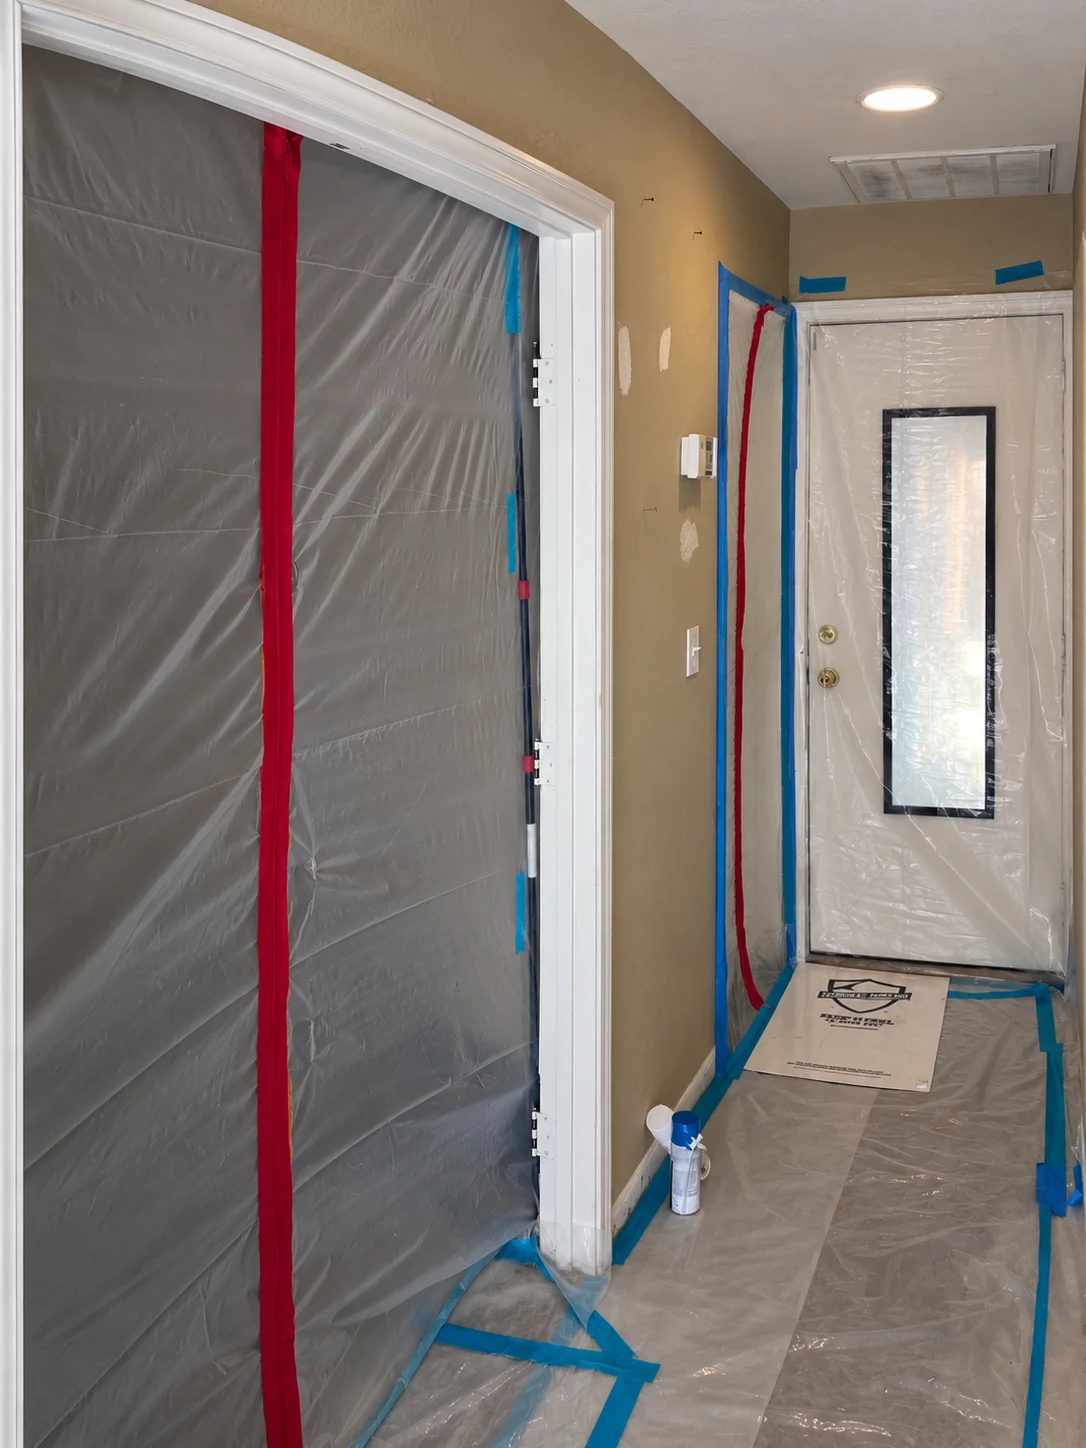
05.5 · Hallway containment
Containment at adjoining doorways. Digitally edited view: perspective straightened.
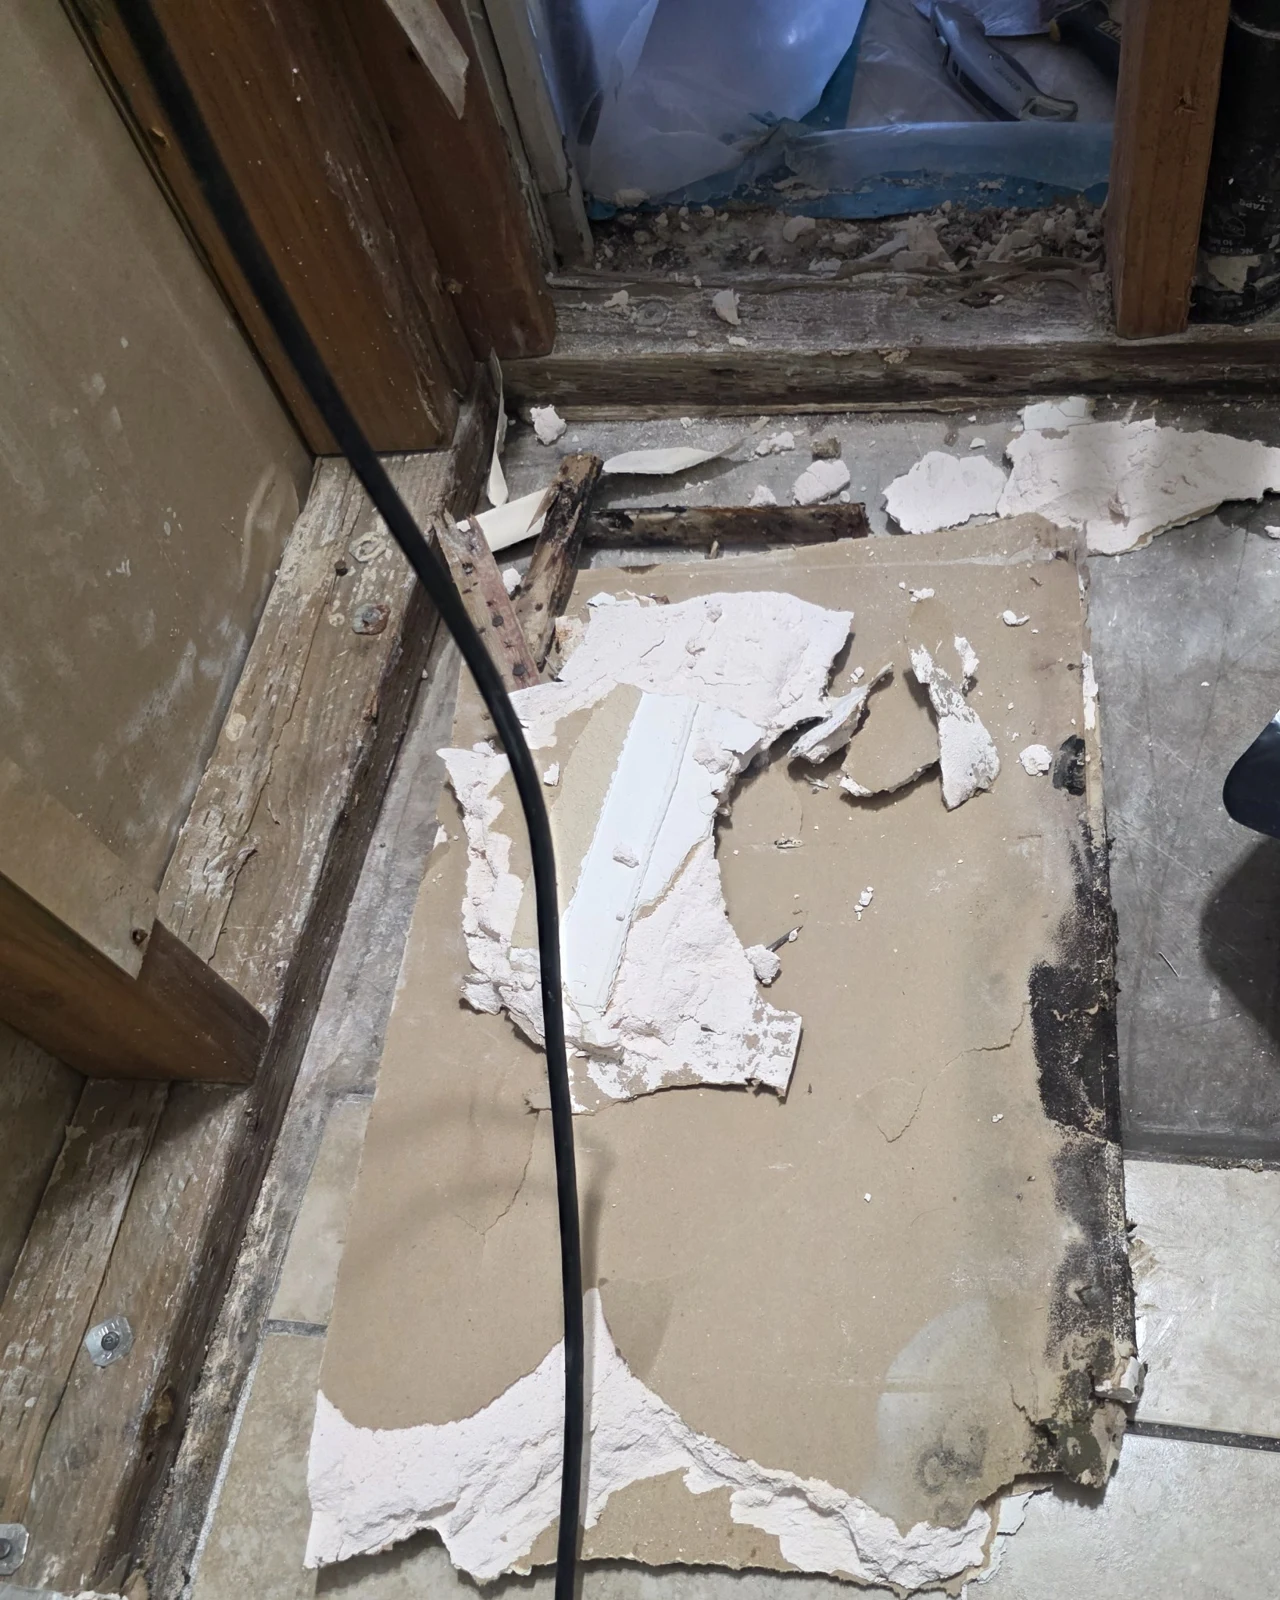
06 · Material removal
Removed material during access to the affected area.
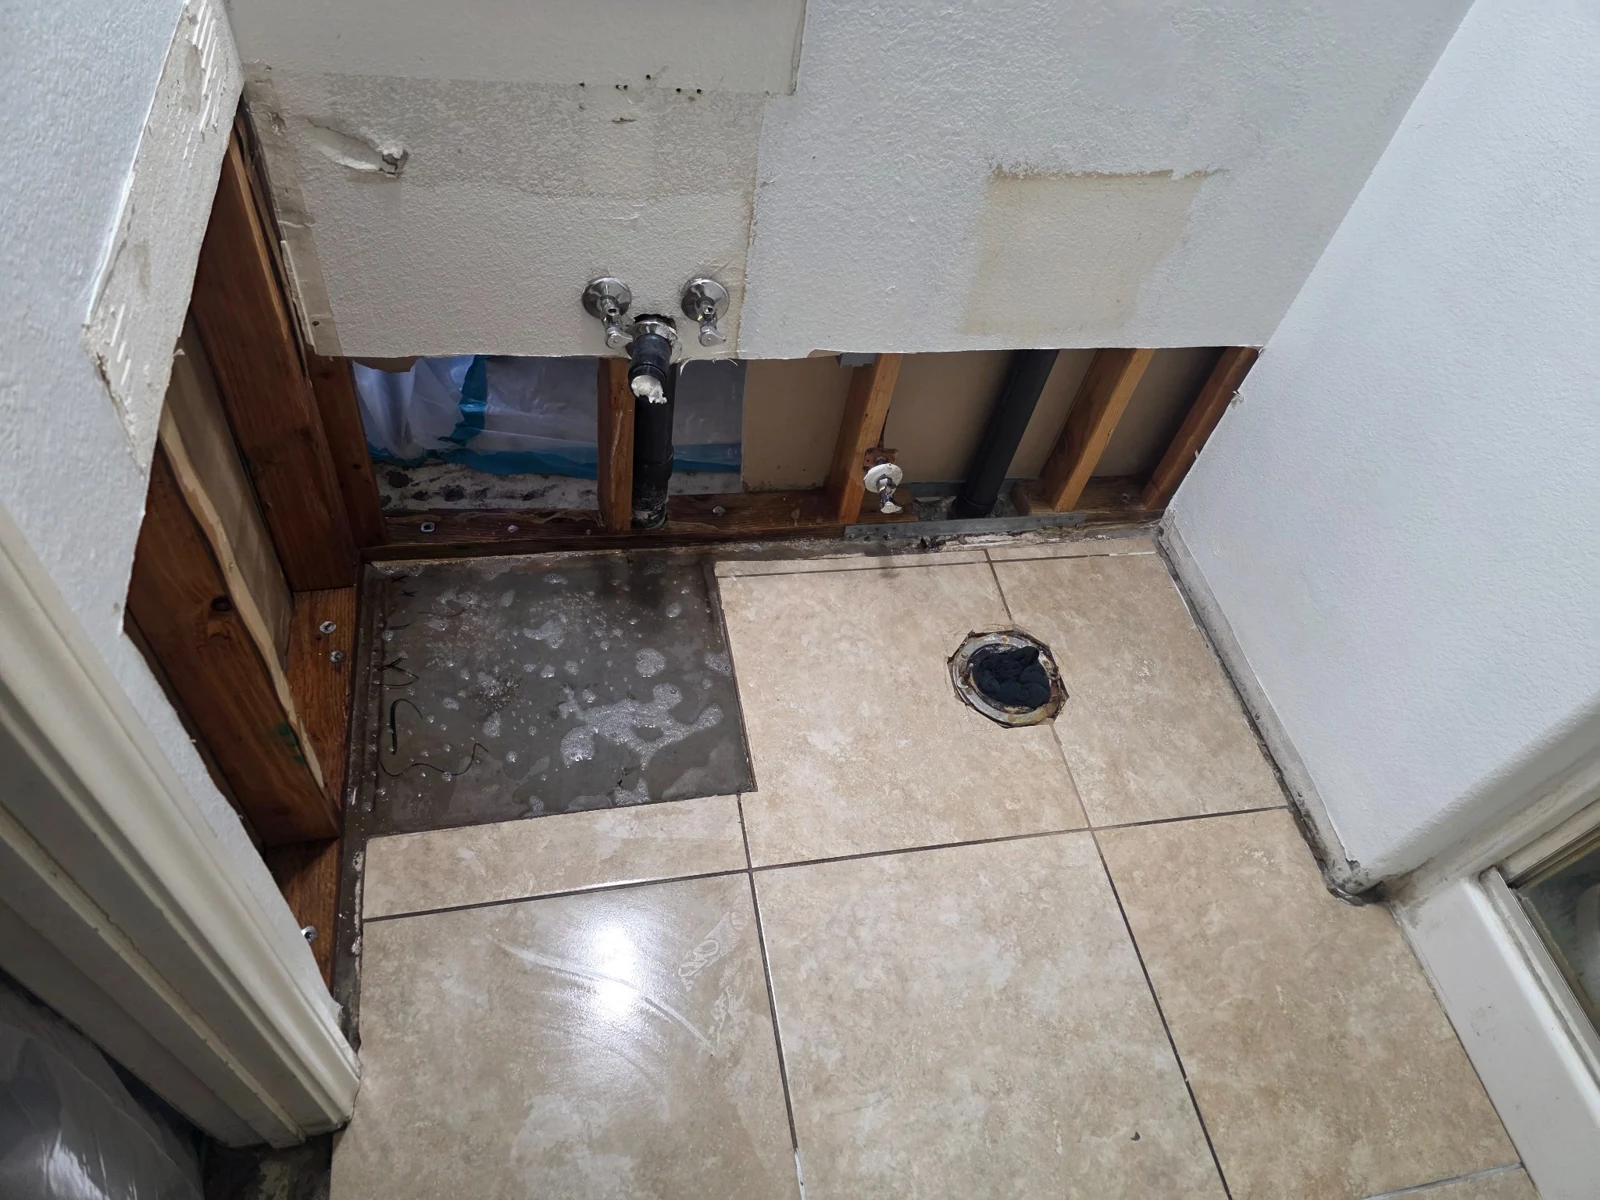
07 · Opened bathroom wall
The opened lower wall, plumbing and floor area.
09 · Work-area video
Video documentation from the bathroom project.
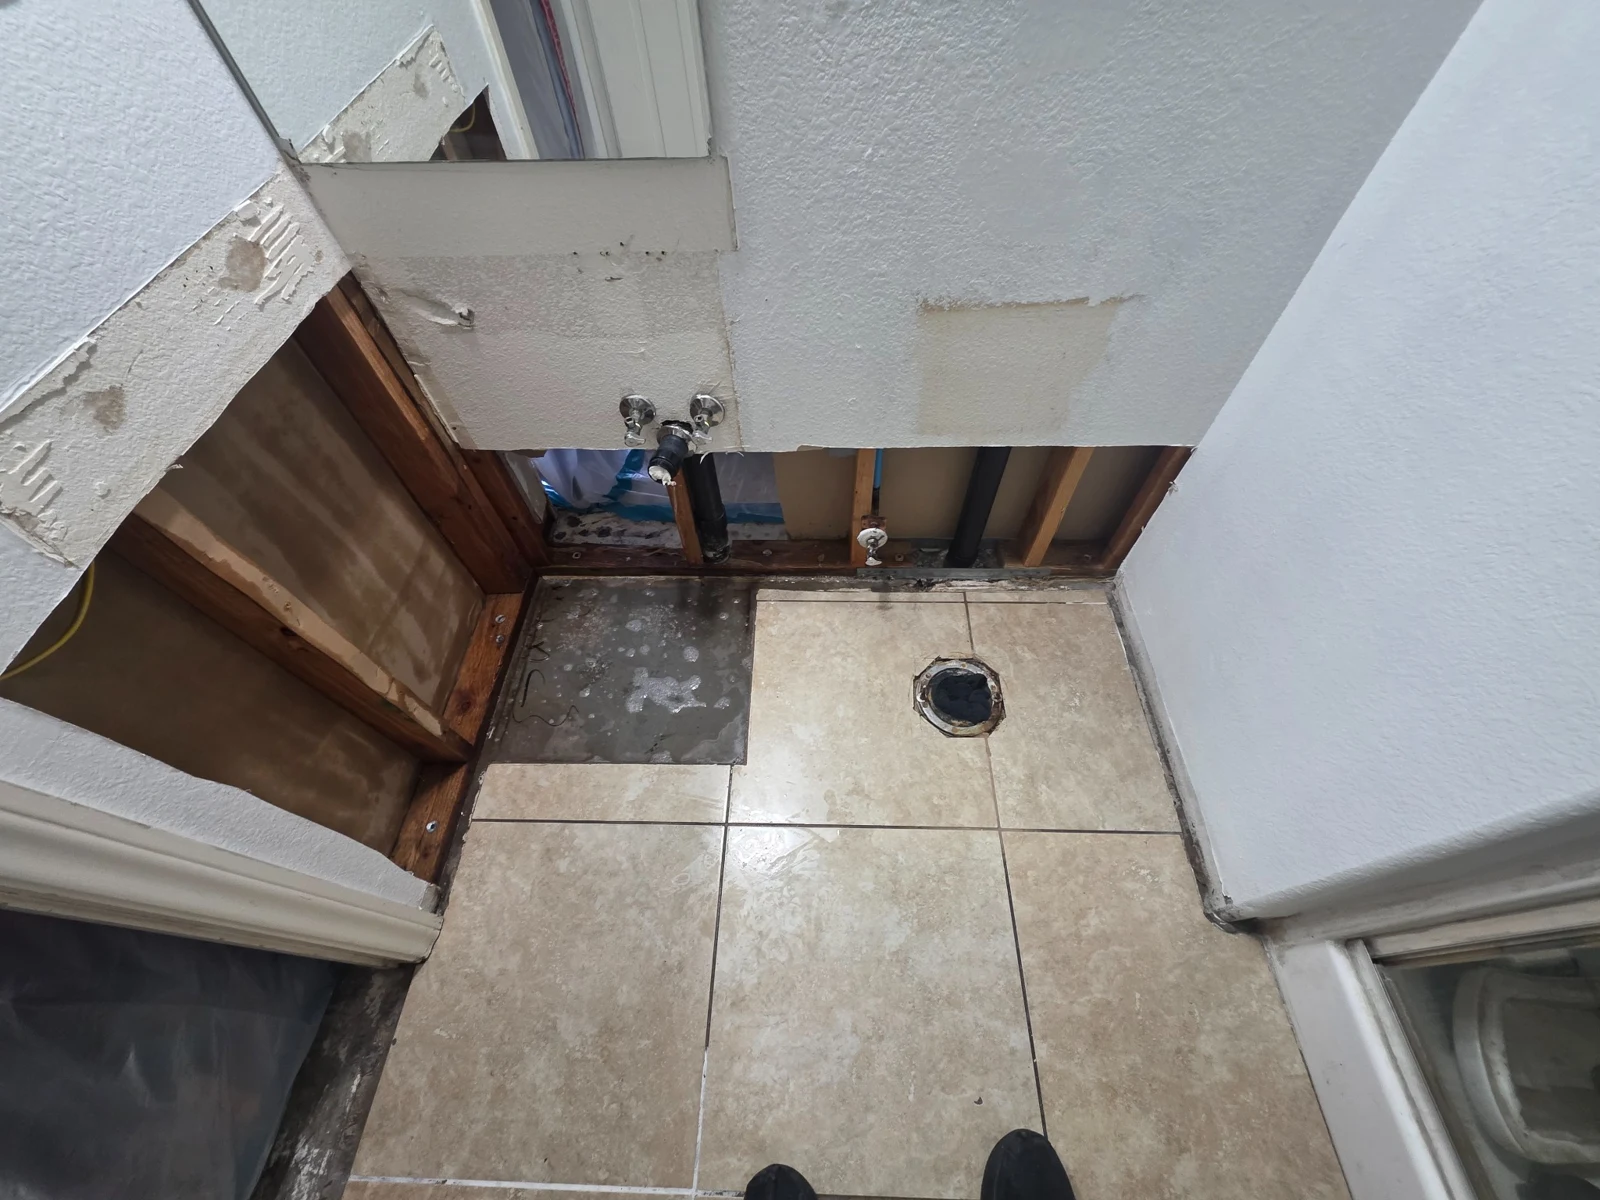
10 · Framing and plumbing access
An additional view of the exposed framing and plumbing.
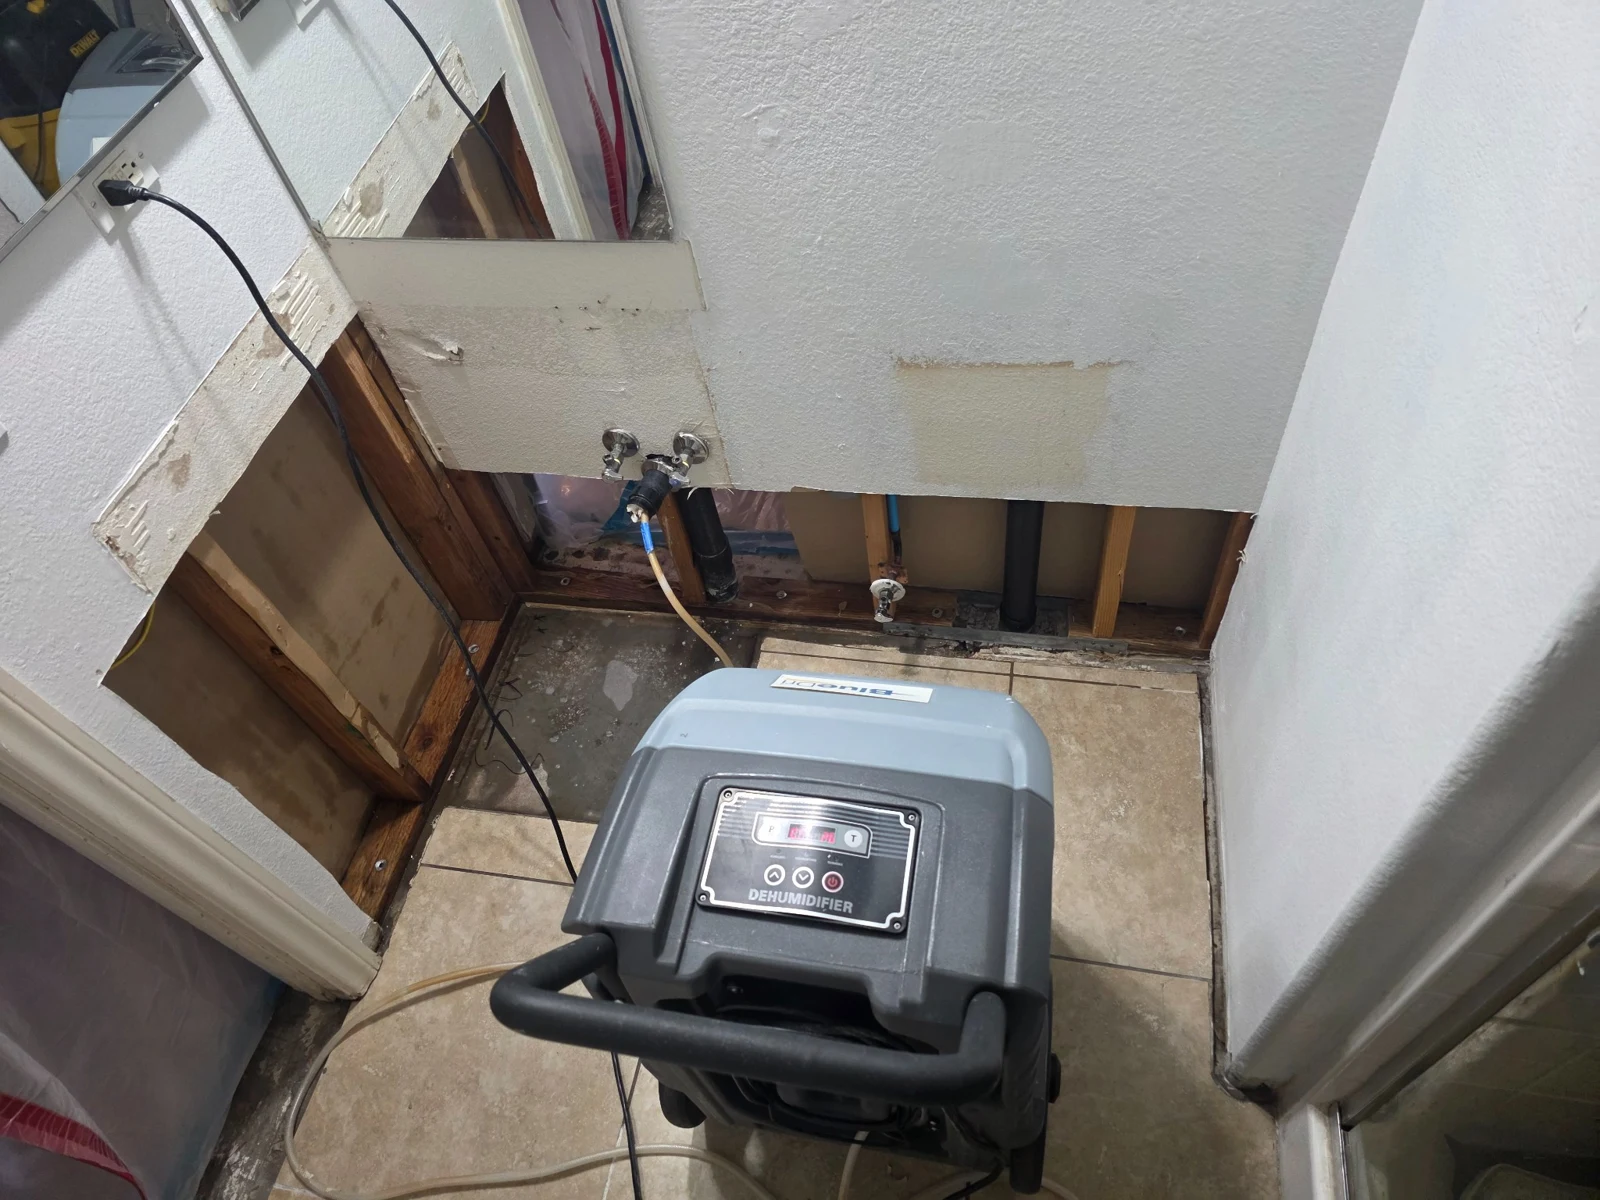
11 · Equipment in the work area
Equipment positioned within the opened bathroom work area.
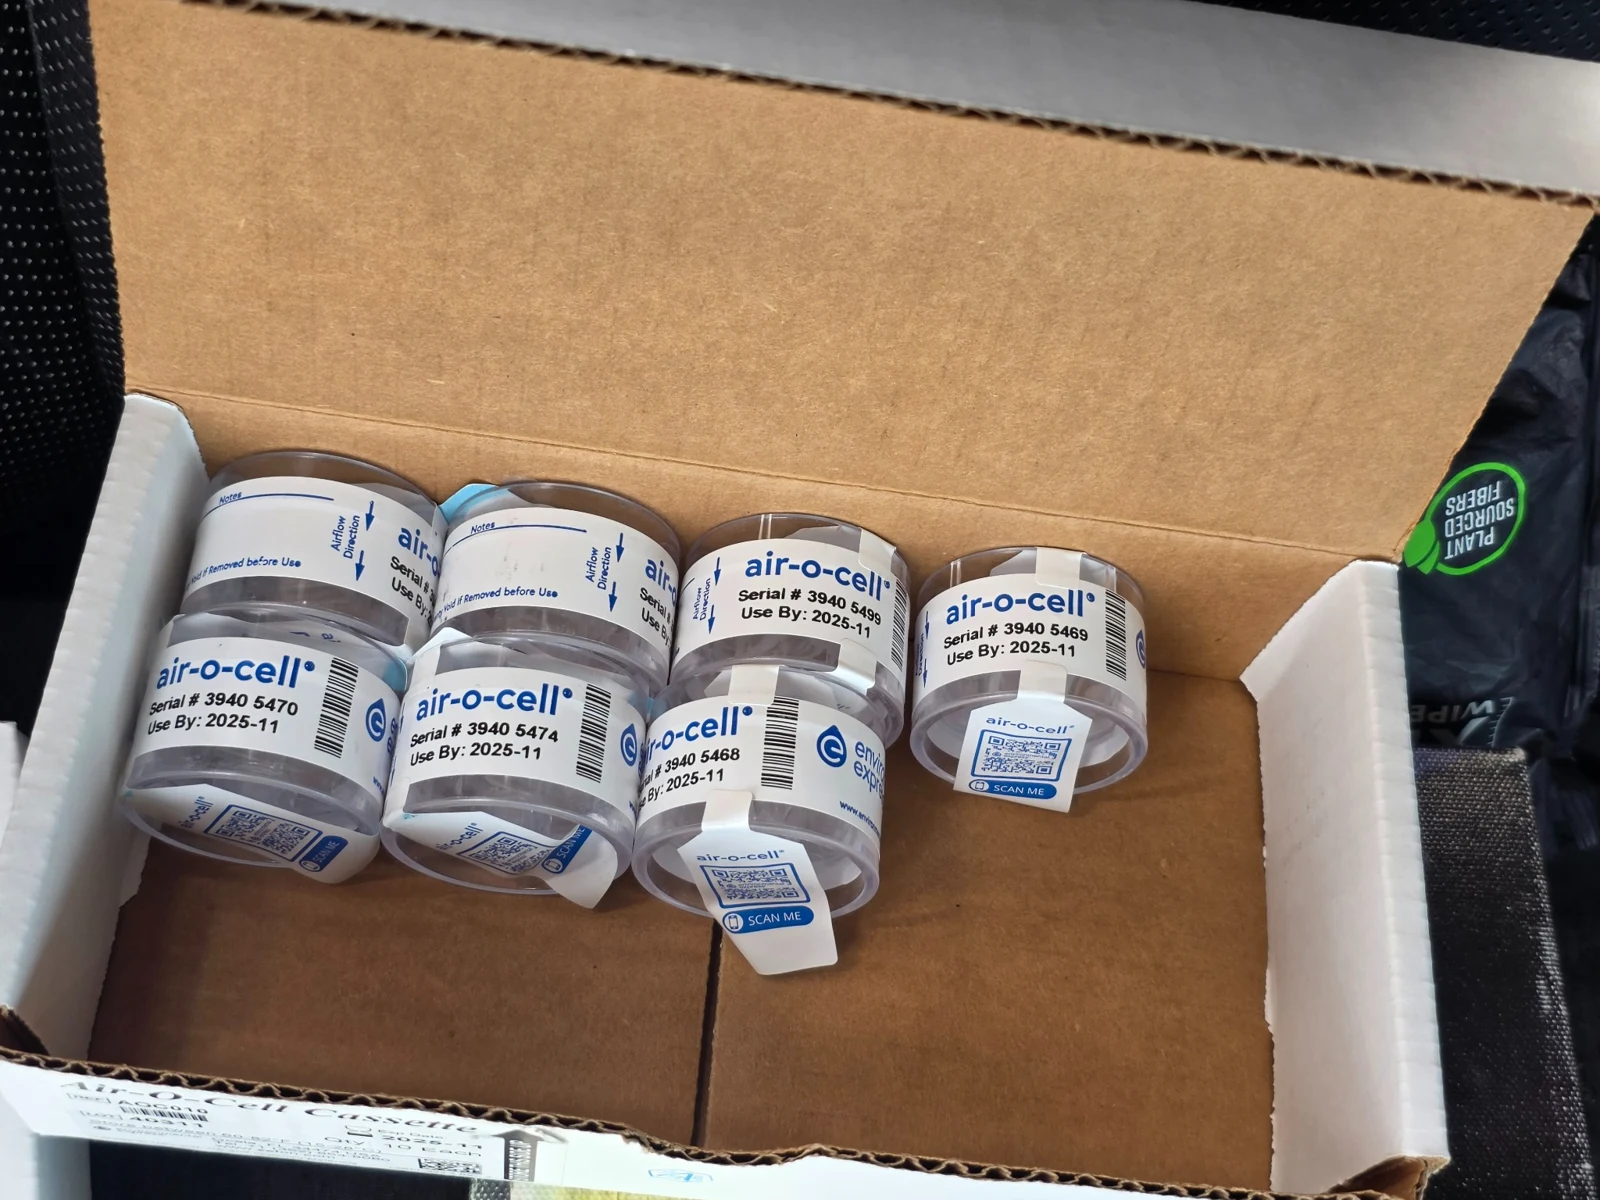
12 · Air-sampling supplies
Air-sampling cassettes prepared for the project.
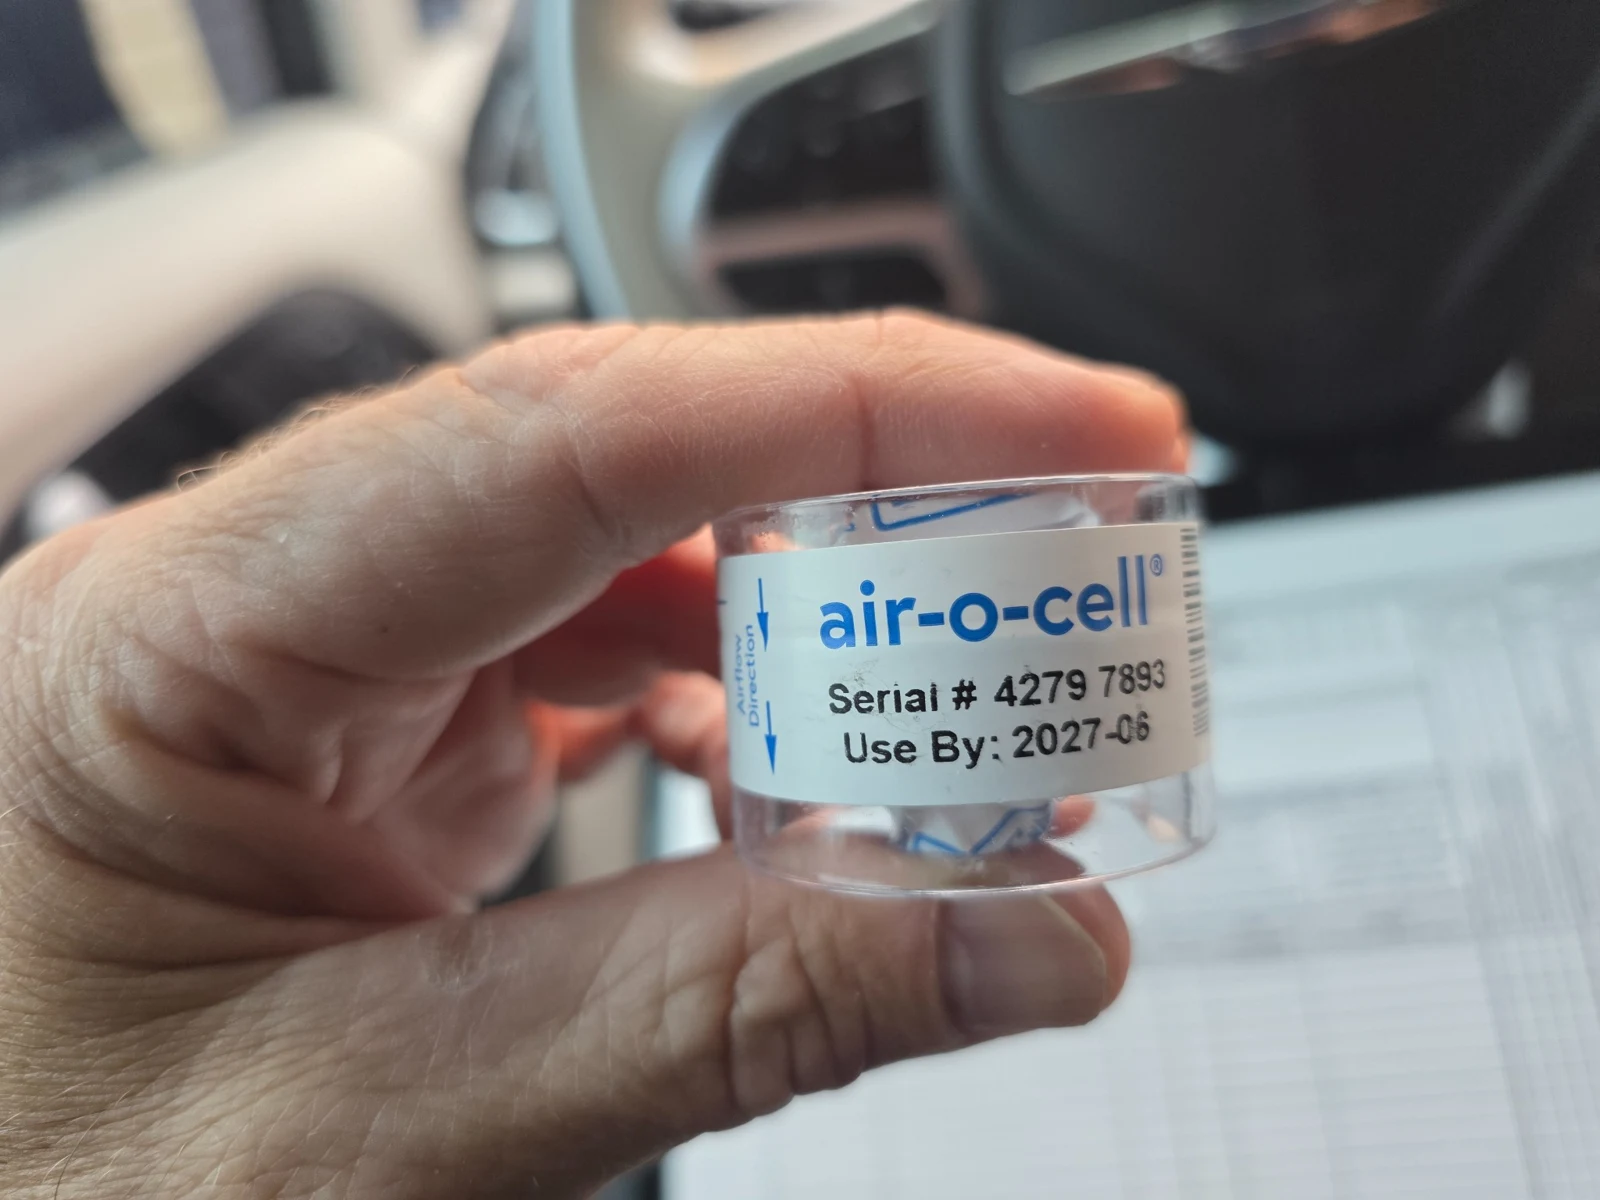
13 · Sample cassette documentation
A close view of an air-sampling cassette. This photograph does not establish a laboratory result.
HAVE A SIMILAR PROPERTY CONCERN?